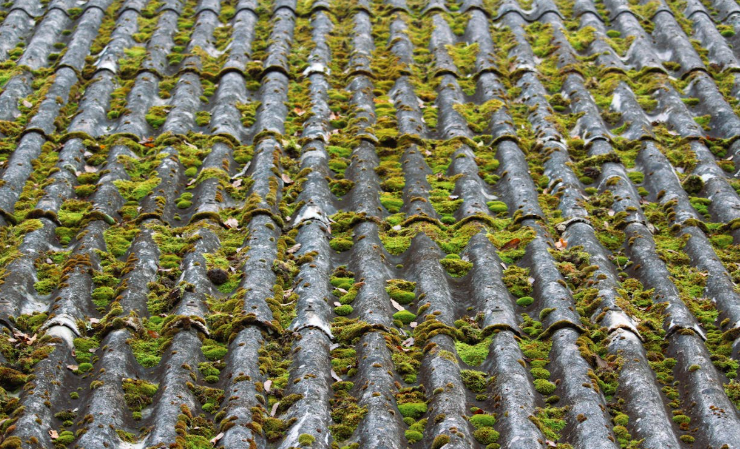
Green algae on house siding is a common problem, especially in humid or shaded areas. It makes your home look older, neglected, and can even lead to long-term surface damage if left untreated. The good news? You don’t need expensive equipment or hours of scrubbing. With the right “no-effort” method, you can remove algae quickly and safely using simple household ingredients.
🏡✨ No-Effort Green Algae Removal Method
🕒 Preparation Time
- Prep Time: 10 minutes
- Application Time: 10–15 minutes
- Waiting Time: 15–30 minutes
- Total Time: ~45 minutes
🍽️ “Serving Size”
Cleans approximately 20–30 square meters of siding
(Adjust quantities based on area size)
🧾 Ingredients You Will Need
🧴 Cleaning Solution
- 1 gallon (about 4 liters) warm water
- 1 cup white vinegar or ½ cup household bleach
- 2 tablespoons dish soap
👉 Choose vinegar for an eco-friendly option or bleach for tougher algae.
🧰 Tools Required
- Garden sprayer or spray bottle
- Soft-bristle brush (optional)
- Garden hose
- Protective gloves
- Safety glasses (if using bleach)
👩🔧 Step-by-Step Method
Step 1: Prepare the Area
Before you start cleaning:
- Move outdoor furniture away
- Cover nearby plants with plastic sheets
- Close windows and doors
👉 Why this matters: It prevents damage to plants and keeps cleaning solution from entering your home.
Step 2: Mix Your Cleaning Solution
In a bucket or sprayer:
- Add warm water
- Mix in vinegar or bleach
- Add dish soap
Stir gently to combine.
👉 Tip: Dish soap helps the solution stick to the siding longer, increasing effectiveness.
Step 3: Pre-Rinse the Siding
Use a garden hose to lightly rinse the siding.
👉 This removes loose dirt and helps the cleaning solution spread evenly.
Step 4: Apply the Solution (No Scrubbing Yet!)
Spray the solution generously over the algae-covered areas.
Start from the bottom and work your way up.
👉 Important: Spraying bottom-up prevents streaking.
Step 5: Let It Sit (The “No Effort” Magic)
Allow the solution to sit for 15–30 minutes.
During this time:
- The algae will break down naturally
- Stains will loosen
- No scrubbing required for most surfaces
👉 This is the key step that makes the method effortless.
Step 6: Light Scrubbing (Only If Needed)
For stubborn spots, gently scrub with a soft brush.
👉 Avoid hard scrubbing—it can damage siding.
Step 7: Rinse Thoroughly
Use a garden hose to rinse from top to bottom.
👉 Make sure all residue is removed to prevent streaks.
Step 8: Let It Dry
Allow siding to air dry.
You’ll notice a cleaner, brighter surface as it dries.
🌟 Why This Method Is Special
This “recipe” stands out because:
✔ Minimal Effort
Most of the work is done by the cleaning solution—no heavy scrubbing required.
✔ Budget-Friendly
Uses common household ingredients.
✔ Safe for Most Siding Types
Works on vinyl, wood, and fiber cement (with proper care).
✔ Scalable
Easily adjust quantities for larger areas.
💡 Extra Tips for Better Results
1. Clean on a Cloudy Day
Direct sunlight can dry the solution too quickly, reducing effectiveness.
2. Avoid Pressure Washers (Sometimes)
High pressure can:
- Damage siding
- Force water underneath panels
Use only on low pressure if necessary.
3. Test a Small Area First
Always test your solution on a hidden spot.
4. Reapply for Heavy Growth
Severe algae may need a second treatment.
5. Keep Plants Safe
Rinse plants with clean water after cleaning to remove any residue.
6. Use Extension Sprayers
For higher areas, use a long-handled sprayer instead of climbing.
7. Maintain Regular Cleaning
Cleaning once or twice a year prevents buildup.
🔄 Alternative Cleaning Options
🌿 Eco-Friendly Version
- Use vinegar only
- Add baking soda for extra cleaning power
💪 Heavy-Duty Version
- Use bleach solution
- Add a small amount of laundry detergent
🧴 Store-Bought Cleaners
Commercial siding cleaners can also work, but this DIY method is often just as effective.
⚠️ Safety Tips
- Never mix bleach with ammonia
- Wear gloves when handling chemicals
- Avoid inhaling fumes
- Keep pets away during cleaning
❓ FAQs
1. What causes green algae on siding?
Algae thrive in moist, shaded environments, especially on north-facing walls.
2. Is bleach safe for siding?
Yes, when diluted properly. Avoid overuse and rinse thoroughly.
3. Can I skip scrubbing completely?
In many cases, yes. The solution does most of the work.
4. How often should I clean siding?
Once or twice a year is usually enough.
5. Will vinegar damage siding?
No, vinegar is generally safe and eco-friendly.
6. Why does algae keep coming back?
Moisture, shade, and poor airflow encourage regrowth.
7. Can I use a pressure washer instead?
Yes, but use low pressure to avoid damage.
8. What’s the fastest method?
Spray, wait, rinse—this method is already one of the fastest.
🧪 “Nutrition Details” (Cleaning Breakdown)
Think of this as the effectiveness profile of your cleaning solution:
- Cleaning Power: ★★★★☆
- Effort Required: ★☆☆☆☆
- Cost Efficiency: ★★★★★
- Eco-Friendliness: ★★★★☆ (with vinegar)
- Surface Safety: ★★★★☆
🏁 Final Thoughts
Removing green algae from your house siding doesn’t have to be a time-consuming, exhausting task. With this no-effort method, you let the cleaning solution do the heavy lifting while you simply apply, wait, and rinse.
The key is consistency—regular maintenance prevents buildup and keeps your home looking fresh year-round. Whether you choose the eco-friendly vinegar option or the stronger bleach solution, this approach delivers reliable, satisfying results with minimal work.
With just a little preparation and the right technique, your siding can go from dull and green-stained to bright and clean in under an hour—no stress, no hassle, and no intense scrubbing required.